Bat Box: Difference between revisions
Jump to navigation
Jump to search
No edit summary |
|||
| Line 26: | Line 26: | ||
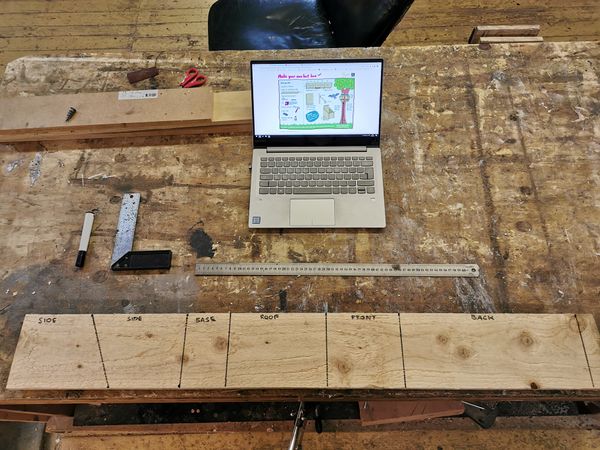
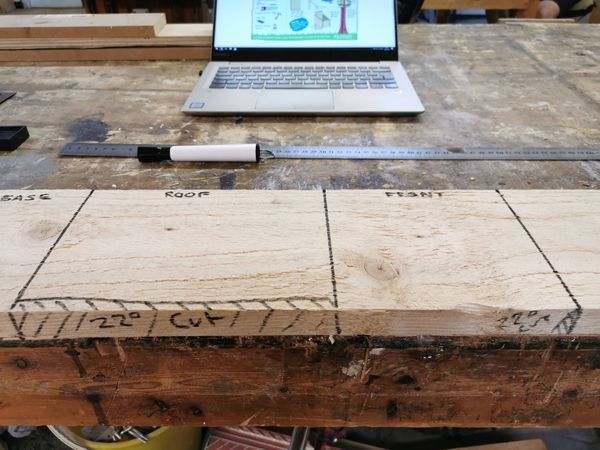
#Mark out the wood with a marker pen or pencil | #Mark out the wood with a marker pen or pencil | ||
#[[Table Saw]] to do the majority of the cuts. | #[[Table Saw]] to do the majority of the cuts. | ||
#For the side pieces with angled tops, I used the [[Sliding | #For the side pieces with angled tops, I used the [[Sliding Mitre Saw]]. | ||
#Hand Miter Saw to do the 1mm deep bat ladder on the back piece. | #Hand Miter Saw to do the 1mm deep bat ladder on the back piece. | ||
#[[Cordless_Drills|Impact Driver]] to screw everything together. | #[[Cordless_Drills|Impact Driver]] to screw everything together. | ||
Revision as of 08:16, 12 July 2019
| Bat Box | |
|---|---|
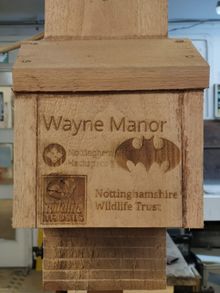 | |
| Primary Contact | Danspencer101 |
| Created | 23/06/2019 |
| Completed | 23/06/2019 |
| Status | Complete |
| Type | Workshop Activity |
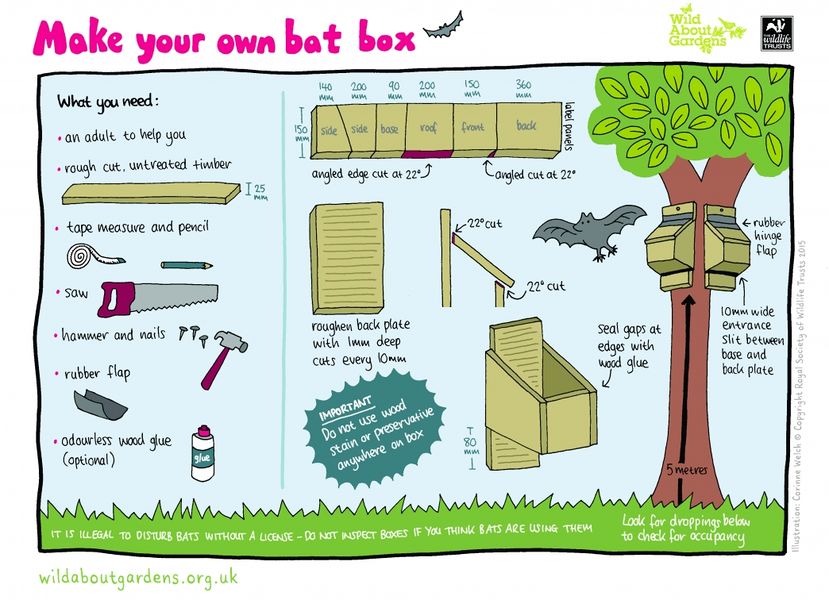
I had a go at making a Bat Box from plans on the Nottinghamshire Wildlife Trust website.
The wood (6" x 1" x 1200mm) was obtained from Harlow Bros. It can be brought in 4m-ish lengths for around £7. They cut it down for free into three manageable lengths that would fit into my car.
-
Plans from the Wildlife Trust Website
Method
The method of manufacture is as follows:
- Mark out the wood with a marker pen or pencil
- Table Saw to do the majority of the cuts.
- For the side pieces with angled tops, I used the Sliding Mitre Saw.
- Hand Miter Saw to do the 1mm deep bat ladder on the back piece.
- Impact Driver to screw everything together.
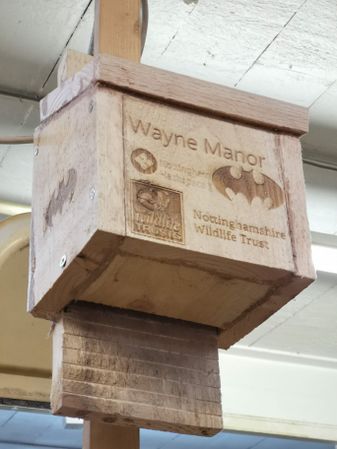
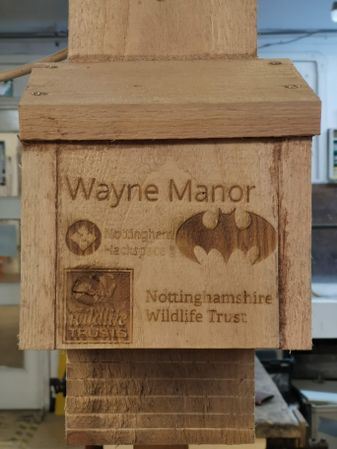
- Laser Cutter to engrave logos.
- Seal gaps with wood glue.
Gallery
-
Marking out the cuts
-
Marking out the cuts
-
The finished bat box
-
The finished bat box
Workshop July 2019
<gallery mode=packed-hover heights=300px> File:BATBOX1.PNG File:BATBOX2.PNG <gallery>
Also available as a PDF File:BatBox Workshop.pdf
