3D scanning yourself: Difference between revisions
m Danspencer101 moved page 3D scanning yourself to Project:3D scanning yourself |
m Danspencer101 moved page Project:3D scanning yourself to 3D scanning yourself over redirect |
(No difference)
| |
Revision as of 12:01, 5 February 2019
| 3D Scan Yourself | |
|---|---|
 | |
| Created | 07/01/2019 |
| Members | danspencer101, Anyone else! |
| Status | Complete |
| Type | Members Project |
| Live Status | Live |
Intro
This is a small project that any member of the Hackspace will be able to undertake if they wish! Skanect is a fairly easy piece of software to work with so this should be accessible to anyone.
Method
Install Drivers and software
The link to the drivers and software for windows can be found on the Kinect wiki page.
Set up the Camera
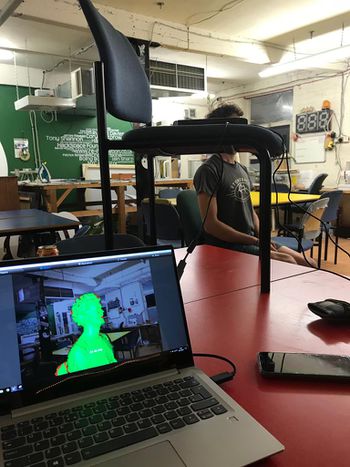
You will need to place the camera somewhere where it has a good view of the subject approximately 4-5ft away. For the first attempt at this, we placed a chair on top of one of the studio tables and rested the camera on top of it. That worked well!
The subject needs to sit on something that spins. An office chair for example!

Scan
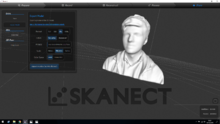
With everything set up, simply follow the prompts in the program to start the scan. The person on the chair should begin to spin slowly by pushing themselves round with their feet. As they spin the preview in the software will turn from Red to Green as the scan is built up.
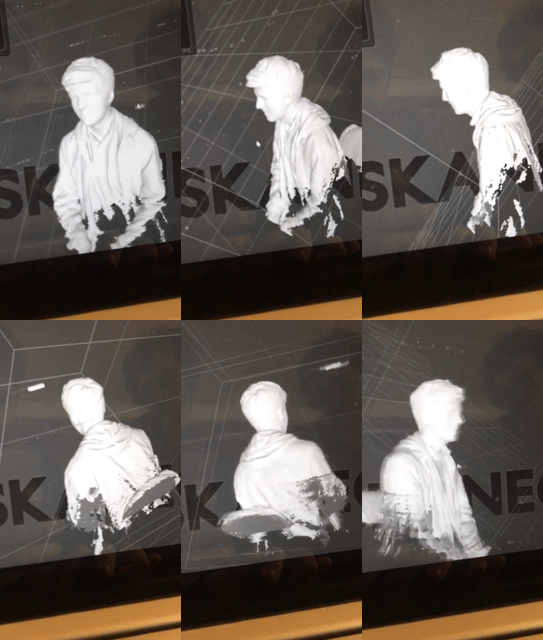
To get the top of the head and under the chin a partner may be needed. They should lift the camera slowly to get a shot of the top of the head and then lower it to capture the chin. This is important as otherwise the resulting model has too many holes to 3D print.
Construct & check the scan
Simply follow the prompts in the software to compute the scan. You can fly around the model using your mouse at this point to check that it has produced a good scan. If there are massive holes or you're unhappy with the level of detail simply start the process of capturing the scan again.

Export to STL
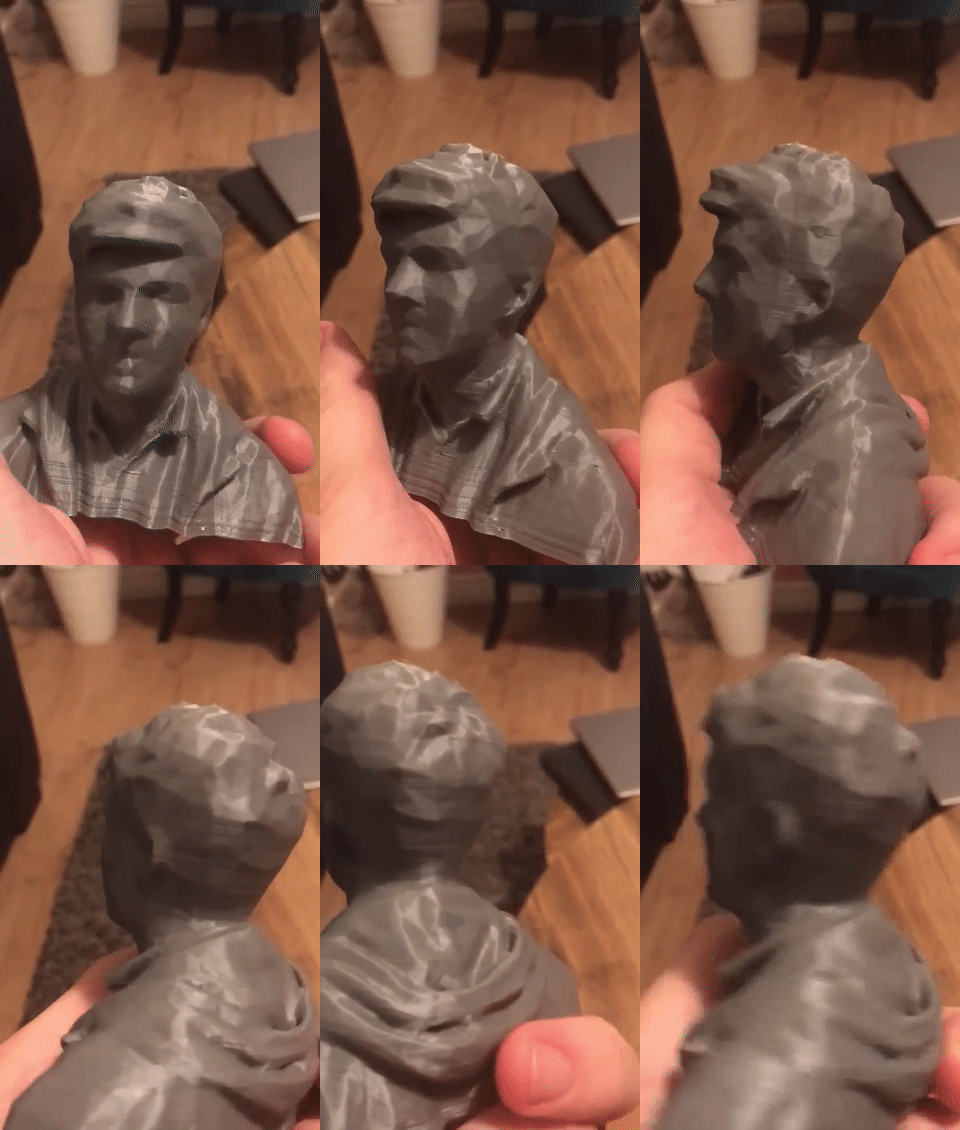
If you are happy the scan, It should be saved in STL format. Although some detail will be lost if using the free version of the software, do not worry too much about the polygon cap. The models are still good enough quality for 10cm-15cm tall 3D prints.
If quality is your priority and you want to get the maximum level of detail it is possible to crop the model before exporting by adjusting the floor height.
Fix the mesh using Meshmixer
Meshmixer, free software from Autodesk, can be used to plug any holes in the model prior to printing. It is also very useful for ensuring that the base of the model is flat so that it will print successfully. I will try to expand on this section at some point but until I do, YouTube is a fantastic resource for getting to grips with the software.
3D Print
Export the STL from Meshmixer and print via any method you are most comfortable with.
Members attempts at this
Danspencer101
Printed this about 10cm tall. Looks great!

Anyone else?
Feel free to give this a go. The camera is located in the comfy area, usually on top of the Xbox. Posting your results is entirely optional!
If I can offer a hand just post in the discussion page or prod me when you see me at the space and we'll set something up.