Snail Geocache
| Snail Geocache | |
|---|---|
.png) | |
| Primary Contact | Danspencer101 |
| Created | 07/04/2019 |
| Status | In Progress |
| Type | Members Project |
| QR code | |
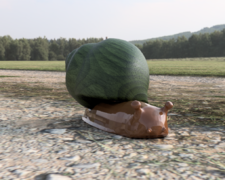
I am creating another 3D printed geocache for an RSPB reserve over in Cambridgeshire. This time the cache is a giant snail! I have previously printed this at the original scale but found it a bit fragile and flimsy. Plus at the large scale is its got the fun factor that I'm going for.
The original model was found on Thingiverse and was created by user Nr5Alive
Modifying the Original
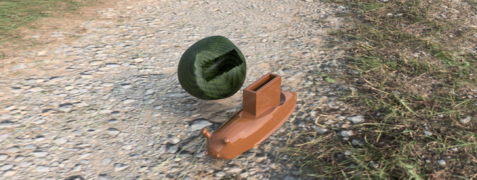
I brought all of the original STL files into Fusion 360. I scaled up the body to 300% size and modeled cylinders where I wanted the magnets to fit. Once I had everything looking ok I took all of the files over to Meshmixer in STL format.
Once in meshmixer I was able to use the sculpting tools to shorten the tendrils; specifically I deleted the mesh elements, moved the new eye bodies closer to the main body and used the zip tool to reunite everything. I also used the cylinders to perform a Boolean Difference operation to produce the holes for the magnets. Worked well.
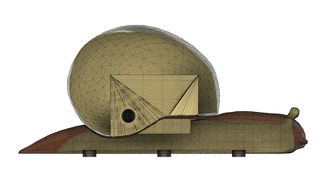
The internals showing magnet locations
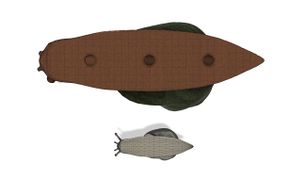
Comparison to the Original model
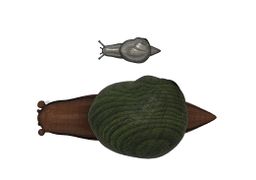
Comparison to the Original model
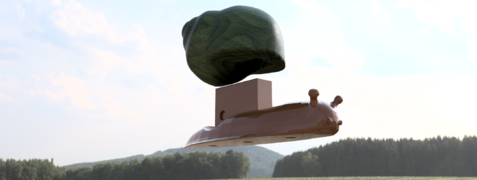
Rendered in Fusion 360
Rendered in Fusion 360
Rendered in Fusion 360

.JPG)
.JPG)
.png)
.png)
Printing
The body printed in about 6 hours with no major dramas.
The shell is proving to be more problematic although I think the problem is to do with my personal 3D Printer more so than the model. The first attempt failed due to a clog in the nozzle. I have bought a new brand of filament (Amazons cheapest PLA) that I've not tested before and it seems to be the reason for the failures.
For shell attempt number two, I've bumped the temperature up to 210°C which hopefully will give better results.

Painting
For both parts: Firstly I will use a small amount of superglue and press the 10mm x 2mm magnets into the holes. After the glue holding in the magnets dries, I will use white spray primer to fill in small gaps in the print and prepare the body for painting.
Main Body
For the main body of the snail I am using Weathercoat Rustic Brown exterior gloss. I've decided to use gloss in the hope that the snail will look slimy when it is placed at the reserve.
The paint has been applied with a brush. I suspended the body on a piece of plywood meaning that I could apply paint all over without needing to flip the part.
Sanded
Primed
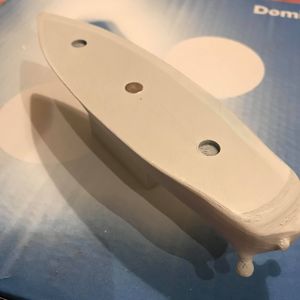
Magnet Installed
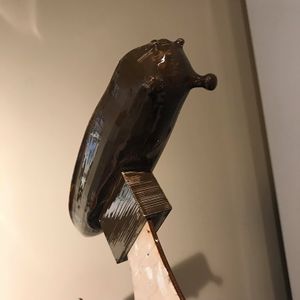
Mounted on Plywood scrap
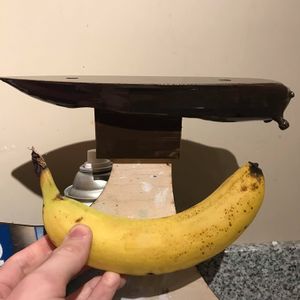
Banana for scale
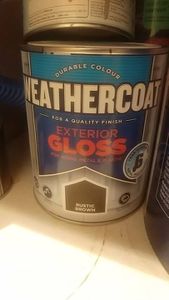
The brown paint
.jpg)
.jpg)
.jpg)
.jpg)
.jpg)
