Han Solo in Carbonite: Difference between revisions
mNo edit summary |
No edit summary |
||
| (17 intermediate revisions by 2 users not shown) | |||
| Line 1: | Line 1: | ||
{{Project|ProjectTitle=Han Solo in Carbonite|created=21/12/2018|members=[[User:danspencer101|danspencer101]]|qrmode= | {{Project|image=File:CNCHanSolo-Complete1.jpeg|ProjectTitle=Han Solo in Carbonite|created=21/12/2018|members=[[User:danspencer101|danspencer101]]|qrmode=1|status=Complete|type=member}} | ||
==Intro== | ==Intro== | ||
| Line 10: | Line 8: | ||
==Fusion 360 Setup== | ==Fusion 360 Setup== | ||
The Job was set-up as per the images below. | The Job was set-up as per the images below. | ||
| Line 17: | Line 14: | ||
File:6mm Ball Nose Mill.PNG|6mm Ball Nose Cutter | File:6mm Ball Nose Mill.PNG|6mm Ball Nose Cutter | ||
File:HanSolo-Stock Set-up.PNG|Fusion 360 Stock Material Set-up | File:HanSolo-Stock Set-up.PNG|Fusion 360 Stock Material Set-up | ||
File:Fusion 360 Toolpath Example.png|Tool path preview | |||
</Gallery> | </Gallery> | ||
| Line 24: | Line 22: | ||
===Operation 2=== | ===Operation 2=== | ||
The | The second tool used was a 3mm diameter ball nose cutter. This smaller tool was able to get into more of the corners and hence increased the detail of the carving. | ||
I decided to use a parallel 3D | I decided to use a parallel 3D finishing cut here. Seemed to give OK results but if I was to repeat this project I would definitely decrease the step over to try and improve the surface finish. | ||
The value used in this example is 1.5mm. I will try 1mm or less when using this tool next time. | The value used in this example is 1.5mm. I will try 1mm or less when using this tool next time. | ||
[[File:HanSolo Finishing Pass simulation.gif|none]] | [[File:HanSolo Finishing Pass simulation.gif|none]] | ||
| Line 40: | Line 38: | ||
==Finishing== | ==Finishing== | ||
I cut the part out of the rest of the plywood stock using the band saw in the | I cut the part out of the rest of the plywood stock using the band saw in the [[Dusty Area]] and lightly sanded the edges. I did do a light sand of the machined faces but didn't put any real effort into preparing the surface for paint. So, what you see here is effectively what a 1.5mm stepover value will give you straight off the machine. | ||
[[File:CNCHanSolo-Complete1.jpeg|none]] | [[File:CNCHanSolo-Complete1.jpeg|none|500px]] | ||
[[File:CNCHanSolo-Complete2.jpeg|none]] | [[File:CNCHanSolo-Complete2.jpeg|none|500px]] | ||
[[File:CNCHanSolo-Complete3.jpeg|none]] | [[File:CNCHanSolo-Complete3.jpeg|none|500px]] | ||
Some improvement work needed but not a bad result! | Some improvement work needed but not a bad result! | ||
| Line 50: | Line 48: | ||
[[Category:Projects]] | [[Category:Projects]] | ||
[[Category:Projects | [[Category:Featured]] | ||
[[Category:CNC Projects]] | |||
Latest revision as of 21:03, 27 December 2019
| Han Solo in Carbonite | |
|---|---|
 | |
| Created | 21/12/2018 |
| Members | danspencer101 |
| Status | Complete |
| Type | Members Project |
Intro
A quick project I completed this afternoon whilst waiting for some wood glue to dry on another project. The main reasons for completing the project were to test out generating tool paths from an STL file and testing Tool Changes on the Hackspace's CNC Mill.
The software used to generate the tool paths was Fusion 360. The model was taken from Thingiverse [[1]]
Fusion 360 Setup
The Job was set-up as per the images below.
-
3mm Ball Nose Cutter
-
6mm Ball Nose Cutter
-
Fusion 360 Stock Material Set-up
-
Tool path preview
Operation 1
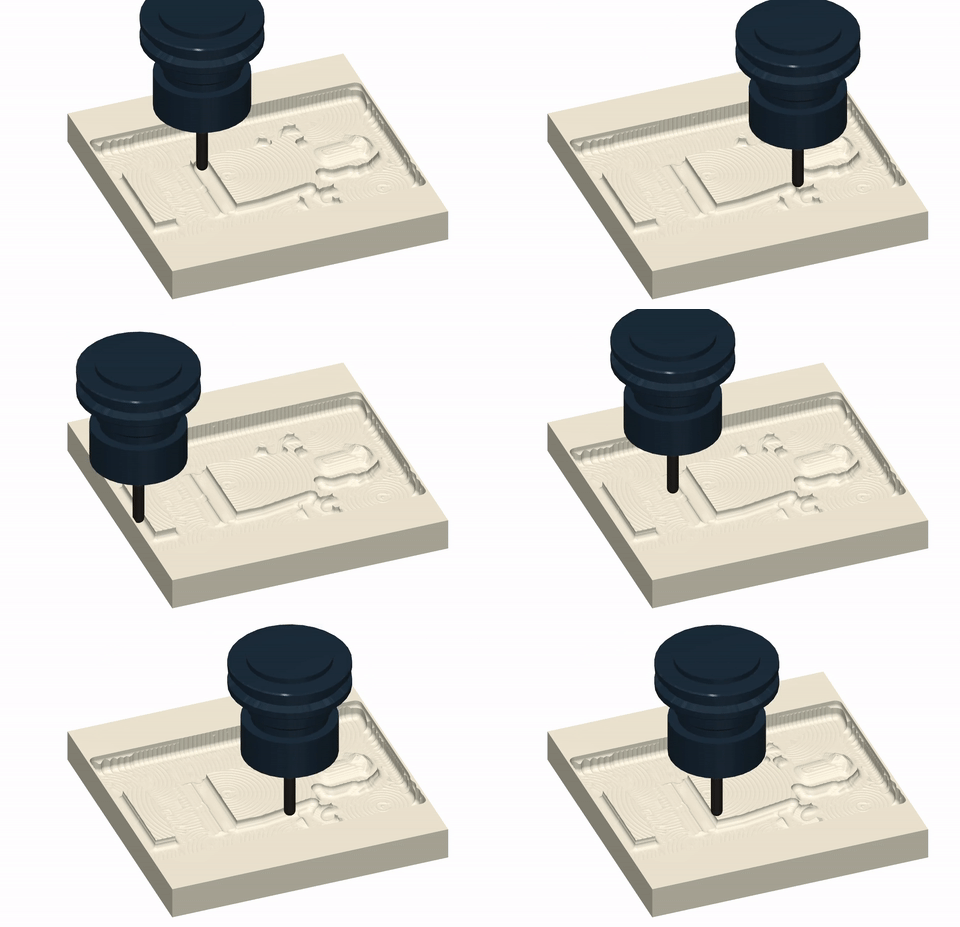
First tool used was the 6mm ball nose cutter. This larger tool was used to hog out the majority of the material leaving just 0.5mm all around for a finishing cut.
Operation 2
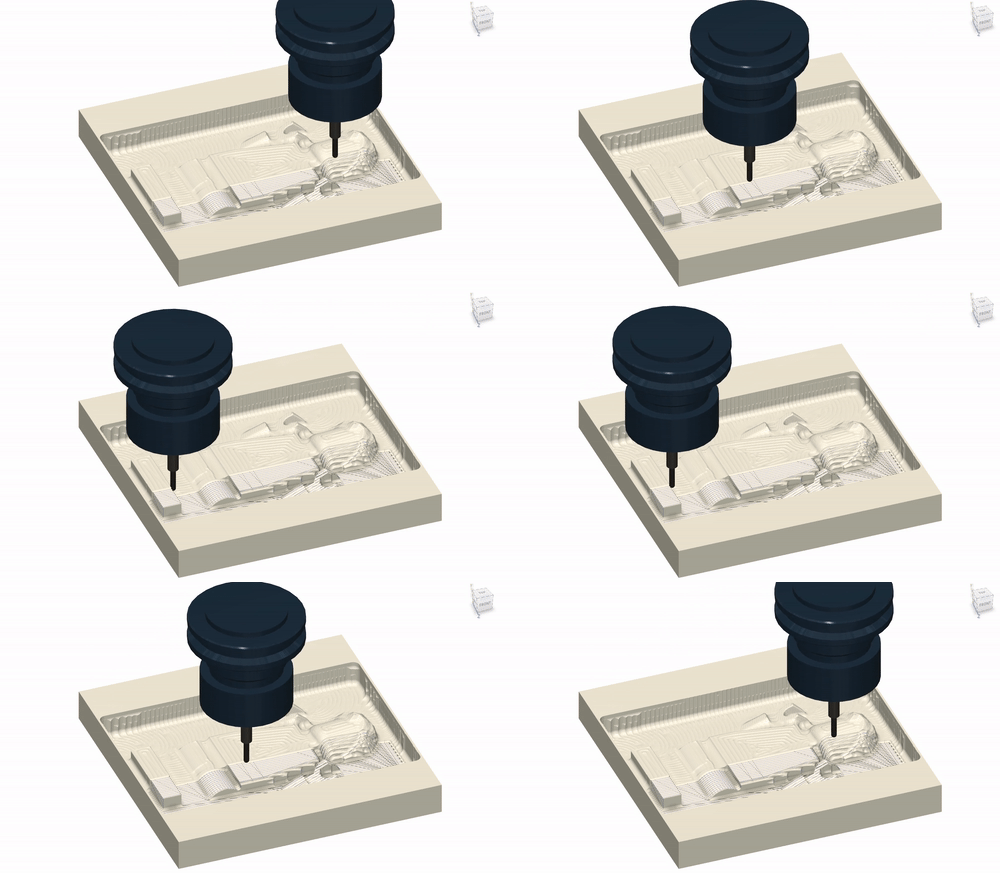
The second tool used was a 3mm diameter ball nose cutter. This smaller tool was able to get into more of the corners and hence increased the detail of the carving. I decided to use a parallel 3D finishing cut here. Seemed to give OK results but if I was to repeat this project I would definitely decrease the step over to try and improve the surface finish. The value used in this example is 1.5mm. I will try 1mm or less when using this tool next time.
Milling
I forgot to get a video of the roughing cut but here is a video of the finishing cut. To ease resetting the tool heights between operations I exported both operations as seperate G-Code files. Follow the G54 instructions on the CNC Mill page for info on how to set the Z Height.
WARNING LOUD VIDEO
Finishing
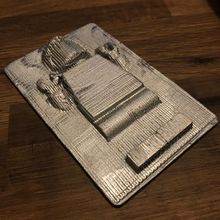
I cut the part out of the rest of the plywood stock using the band saw in the Dusty Area and lightly sanded the edges. I did do a light sand of the machined faces but didn't put any real effort into preparing the surface for paint. So, what you see here is effectively what a 1.5mm stepover value will give you straight off the machine.
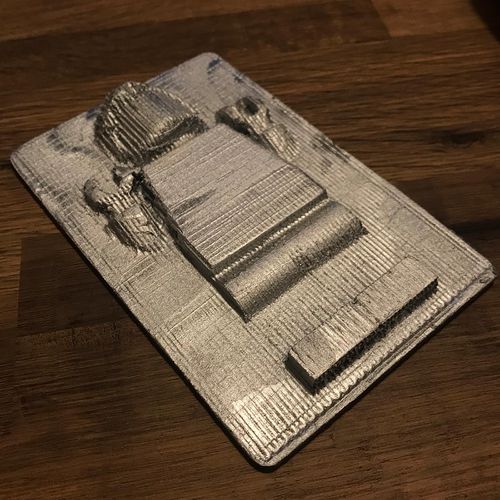
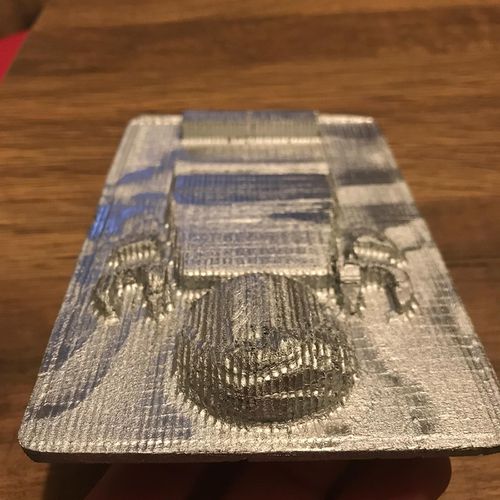
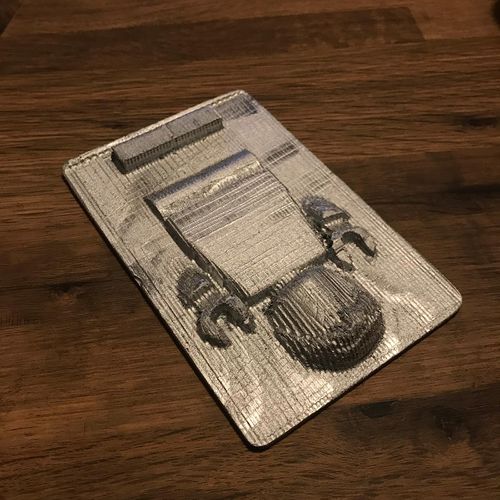
Some improvement work needed but not a bad result!


