Denford Lathe: Difference between revisions
No edit summary |
No edit summary |
||
| Line 56: | Line 56: | ||
Part 3 - Making the top https://youtu.be/wTwbws0wuVc | Part 3 - Making the top https://youtu.be/wTwbws0wuVc | ||
<gallery> | <gallery> | ||
TOP1.jpg|Caption1 | |||
TOP2.jpg|Caption2 | |||
</gallery> | </gallery> | ||
Revision as of 00:43, 9 January 2017
Dclarke (talk) 08:56, 28 January 2014 (EST)
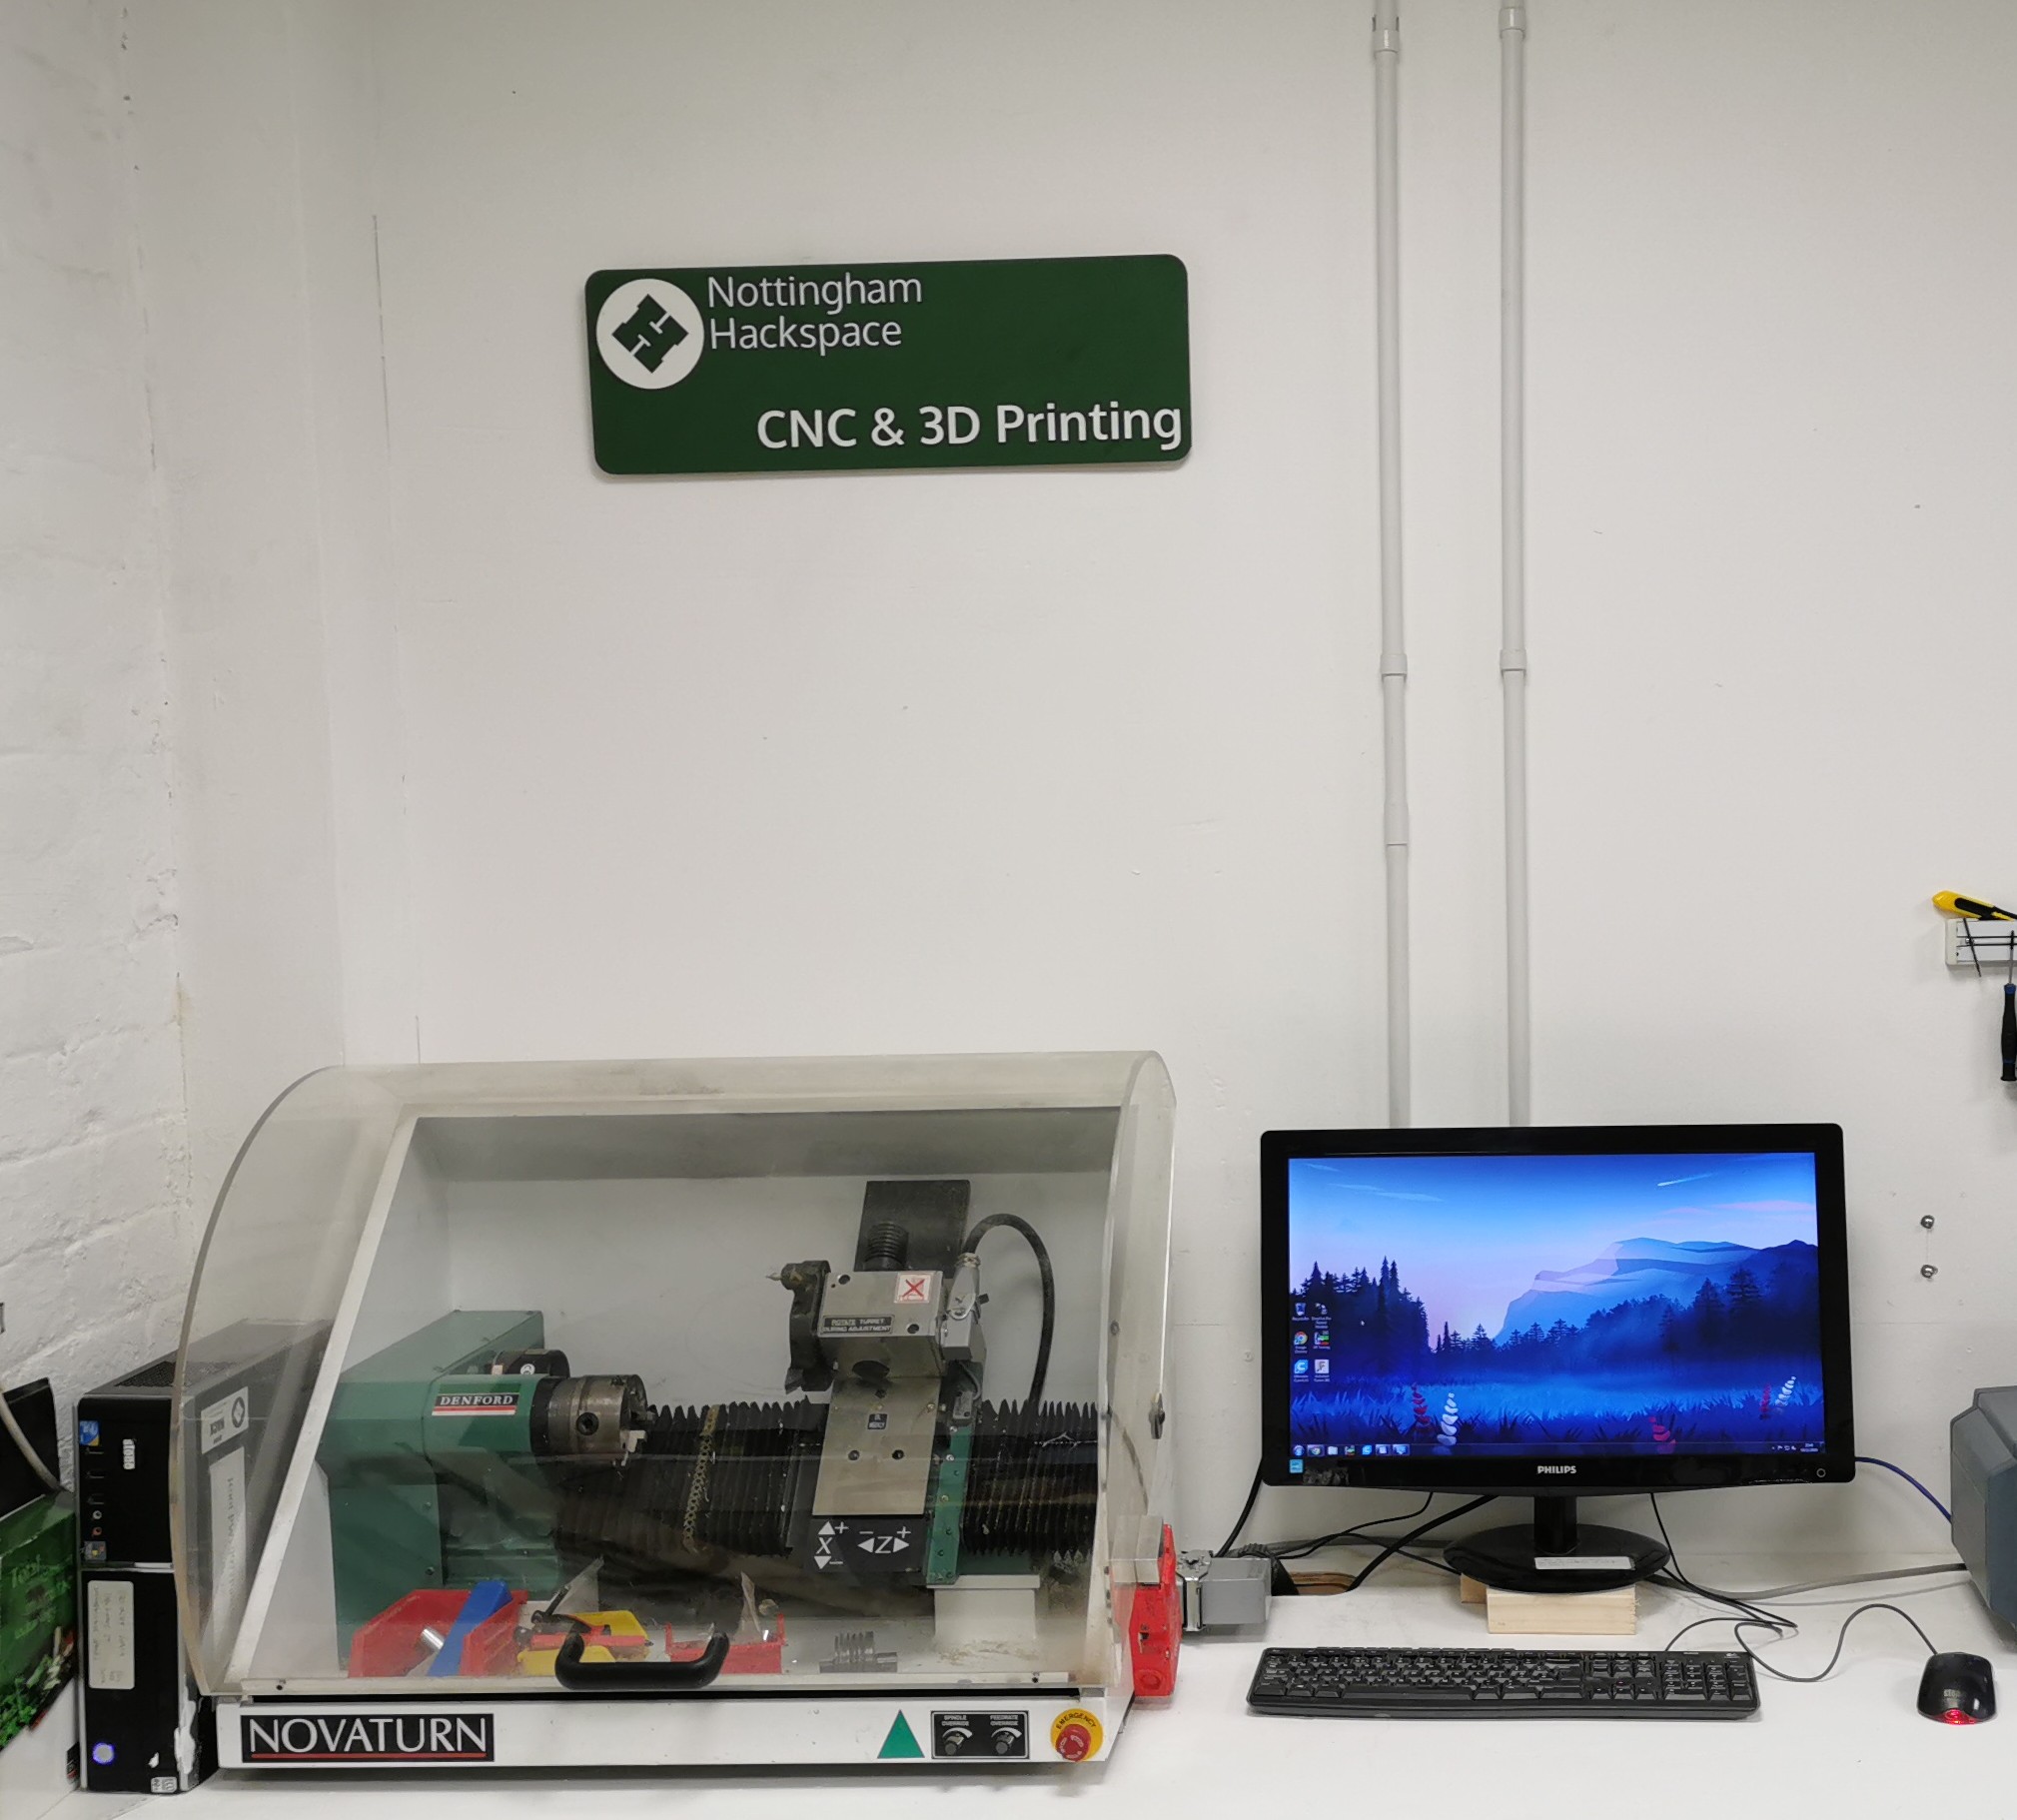
A benchtop Denford Novaturn CNC lathe
The novaturn lathe has been in the space for some time and has had very little use to date it is NOT a scary hard to use machine and is avaialble for use by any member without induction.
Obviously take care when using, if you are unsure of anything ASK SOMEONE, a a good place to ask is the google group. If you have never used a Lathe or CNC machine at all before the learning curve can be a little steep but should be manageable.
There are a number of good 'howto' videos on youtube Including one by me :-) of designing a part and specifically to be cut on the lathe part 2 comming soon will show setup and use of the lathe to make the part. Meanwhile watch PART1 Part 2 HERE
Also some generic videos on using a denford lathe. See Part1 and Part 2
The lathe used is the same as ours except that we have a 8 position automatic tool changer.
The novaturn software has a simulation mode' that lets you program a part an run it on the computer only to check all is well before you actually cut it out for real. This gives an easy confidence boost.
Other reference: Novaturn Manual is available HERE
At the moment we have not set up any tool sets or fixed tool offsets so multi tool jobs and using the tool changer will probably need some deep learning or previous experience!. I am hope to do some work on this in the near future.
If you have any questions please ask, I am more than happy to give a demo/introduction if people do not feel confident enough to go it alone.
Update 24/12/2016
Tested the lathe today, it is 100% functional.
Tool table is set up correctly for offsets BUT the tool order is a bit poor as the drill chuck
runs very close to the lathe chuck when using the finishing tool. It might be better with a different tool order. but usable as is with care.
Will be creating and testing a fusion 360 Post to allow parts to be designed/cut as the denford VM Cm is really very poor.
Hope to do a youtube vid on intro to the lathe and making your first part shortly.
Post Processor for The denford Lathe in fusion 360 All seems to work fine for external turning/groving should be 100% functional but threading and internal cutting only tested on the sim If you downloaded the previous version you need to switch, the last one had a problem in that it did not execute tool changes correctly on the lathe even though they worked in the sim.
Youtube Videos on how to use the lathe are available:
Part 1 - Designing the top in fusion 360 and testing on the sim https://www.youtube.com/watch?v=k1-Z0pW2ES0 Part 2 - Setting up the lathe, tool offsets etc https://www.youtube.com/watch?v=5A6WGTqPZko&t=66s Part 3 - Making the top https://youtu.be/wTwbws0wuVc
-
Caption1
-
Caption2
Post any successes/problems on the google groups, let me know if this is useful and I may be persuaded to do vids on the Bridgeport and Myford lathes although at present both of these do need an actual induction due to there ability to eat fingers of unwary hackers.
Chris
=========Below here be dragons==================================================
This stuff not needed to use the lathe, mostly collecting things as I find them in case we ever want to upgrade the Lathe to a better controller.
Auto Tool Changer. The ATC unit runs from a DC motor driving the tool turret via a worm Gear. There are 3 sensors (optical) that give a grey code encoded tool number as the turret rotates. The tool is selected by putting 24 volts on the DC motor, the turret starts turning. Monitor the 3 sensors, when they have the correct tool number the DC voltage is reduced to 12 volts and the polarity is reversed. This causes the toolpost to reverse and lock. The 12 volts reverse polarity is maintained to keep the tool locked in place. Diagrams of the tool changer board below.
File:NVT-D8A.pdf File:DOC100308.pdf File:Toolpost.pdf File:DOC100308-001.pdf


