Raspberry Pi Small LCD
I was lucky enough to get my Raspberry Pi quite early and I've got quite a few project ideas but the first one is to create a small user interface on a cheap LCD monitor.
I got this second-hand 5" LCD monitor from an ebay seller for £5.50 (plus £4.50 postage so a tenner in total). It's a CCTV monitor for inside a bus or taxi. I tracked it down to the manufacturer's website at http://www.lookcctv.com/show_spares.php?id=2 The unit came with a single 8-pin mini-DIN plug as the only external connector but the seller gave me a pinout diagram so I was able to work out the what went where. I decided to cut the original plug off and solder my own sockets - the alternative was to destroy a perfectly good Apple Mac 3-way serial port hub - my only other source of an 8-pin Mini-DIN socket.
Photos: https://plus.google.com/photos/101627167067307203883/albums/5759903374126361649
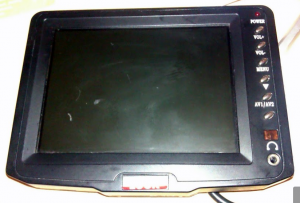
The unit has a slightly scratched screen - no big deal. There's buttons for some menu control and audio volume and what seems to be IR remote!
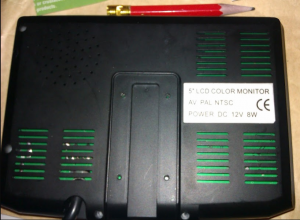
12v 5W
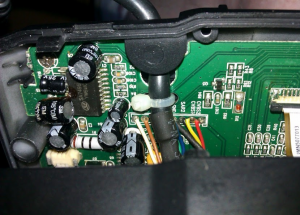
Inside, the cable breaks out to a row of 8 solder points
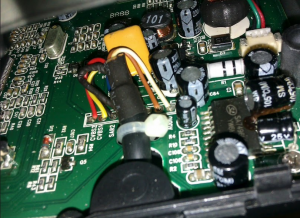
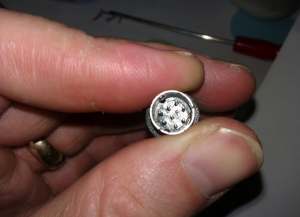
So the Mini-DIN has 8 pins but these are quite rare apart from Apple Mac serial ports.
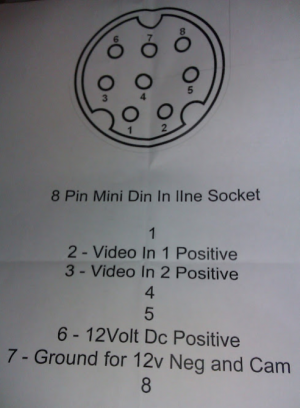
Here's the pinout provided by the seller - doesn't mention the audio or problematic ground for the two video signals.
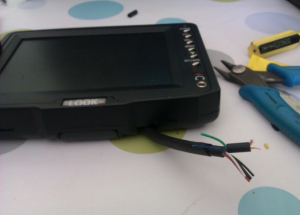
So I hacked off the plug and set about fitting some proper socket connectors for RCA composite video, 3.5 mm TRS audio and 6mm barrel 12v power.
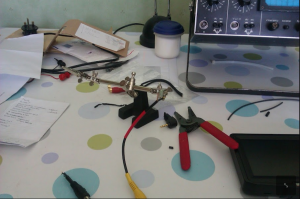
Video socket soldering setup - heatshrink in place - the little coax video sub-cable from the LCD was tiny!
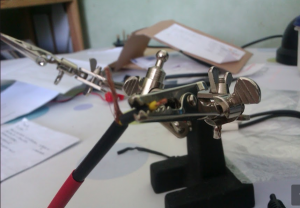
Using helping hands - outer braid gathered to one side - ready for tinning.
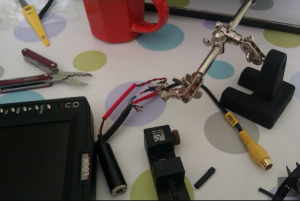
Fitting barrel power socket (+ve tip always!)
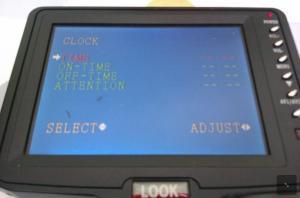
Success with the power! Using a bench power supply.
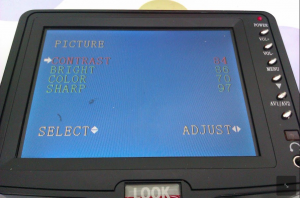
The LCD's own menus can be navigated with the buttons - took some getting used to.
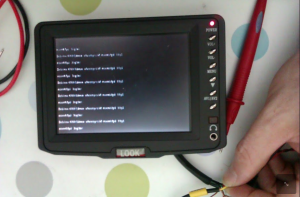
After a few failed attempts I finally worked out the wiring for the video and achieved my goal - the Pi Debian login presented on my £10 LCD!
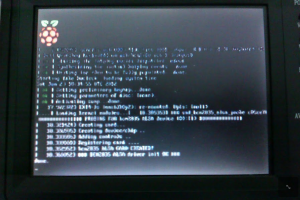
And with the Pi logo! Here the LCD is auto selecting the NTSC signal. Nice feature.
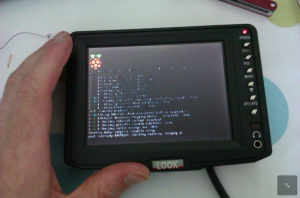
My hand in shot for scale.
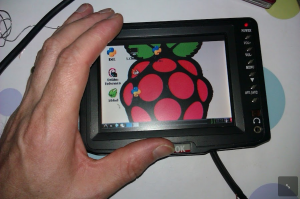
And X in all its glory! It's obviously too small to use the console or the desktop as is and that's fine as my plans for this are as a custom user interface with quite large text and buttons.
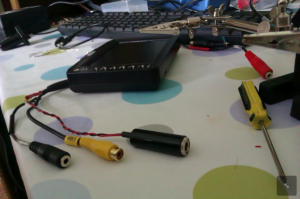
OK, all done - three usable sockets instead of one unusable non-standard plug! There's no photos of the audio :D but I can assure you it works well. Only mono but I don't think that matters on the tiny piezoelectric speaker!