Laser Stamps
| Laser Stamps | |
|---|---|
 | |
| Primary Contact | Chunky |
| Created | 06/03/2012 |
| Completed | 15/04/2015 |
| Status | Complete |
| Type | Members Project |
This is a guide to making rubber stamps on the Laser Cutter.
Stuff required
Firstly you will need some laser rubber, which can safely be cut on the laser cutter without loads of fumes (actually - it STINKS). There are only a couple of suppliers that I have found (please add any, if you know) in the UK:
I had to buy this in bulk as shipping was quite expensive. Its around £7 a sheet, plus £6 p&p, plus VAT. If you would like a small bit to try then I am selling the excess from mine at £5 for an A6 piece (1/4 A4 - enough to make a load of stamps). Email matt_AT_re-innovation.co.uk.
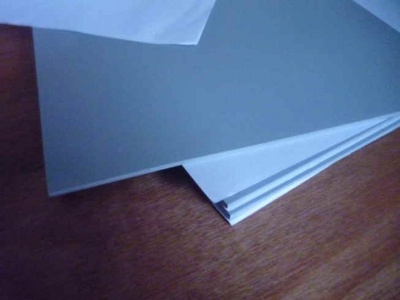
Laser rubber is pretty boring and looks like this:
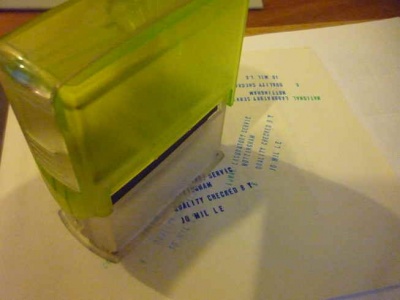
You will also need a rubber stamp ink pad and some structure to hold the stamp (a block of wood with a handle). I used this automatic inking rubber stamp as it was going up for grabs.
Prepare your stamp image
Make your image on your favourite graphics package. The image should be just black and white, as there is no graduated colour on a stamp. Make sure its the correct size. Remember:
- It needs to be printed white where you want the image and black where you want it cut away (generally invert the colour on the image)
- Also remember is to mirror the image, as it will be printed in reverse (I didn't do this on my first one).
Export it as a bitmap or jpeg.
Instructions for using GIMP
First you will need your image file. This can be any image format ( .jpeg, .png, .bmp etc).
As we cannot do greyscale with a stamp, the best images have a very definite edges. Thin lines do not work very well.
Convert image to black and white
We must convert image into 1-bit image (black or white).
This can be done in different graphics packages. Here we are using an open-source and free to download package: GIMP (an image processing package).
In GIMP 2.8
Open image in Gimp.
For the stamp we need the image to be mirrored in the left-right plane.
To do this go to: Tools -> Transform Tools -> Flip
Then click on the image.
Create an area around the image to give us room to cut out the stamp.
Go to: Image -> Canvas Size.
Then add around 20mm to both the width and the height.
Click: "Centre" to put the image into the, er, centre.
Click: "Resize"
Click: Colors -> Threshold
You can adjust the slider on the threshold to show the best image.
Click OK to apply.
The output from the threshold (IMAGE NEEDED)
Click: Image -> Mode -> Indexed
Then click on: "Use black and white (1-bit) palette"
The output from the 1-bit conversion (IMAGE NEEDED)
Export this image using: File -> Export As
This must be saved as a .png file for LaserCut 5.3 software.
Cut out the stamp with the laser cutter
We will be using the laser cutter as a laser engraver (actually thats what this laser machine is).
Information and settings April 2015
This is for the Just Add Sharks A0 laser cutter at Nottingham hackspace:
In LaserCut 5.3 LaserCut 5.3 manual is available here: https://www.nova-labs.org/wiki/_media/manuals/lasercut5.3_manual_v1.6.pdf
Import the image, using: File -> Import
Use “GradeEngrave” option. This gives a ramp up to the main design, which allows for better, less ‘squidgy’ stamps.
With GradeEngrave we have a few more options as shown here:
Settings for laser rubber: The settings are very similar to 3mm plywood.
The rubber will cut through at 65% power and 20mm/s The rubber will etch deeply at 65% power and 100mm/s
We set the scan gap to around 0.15mm (the laser beam is around 0.2mm, so we need to be less than that).
The min-power setting is set to 0%. The grade-width depends upon the image and detail. A good setting is 1.5mm.
Test this is OK using: Laser -> Simulate This might take a long time, but shows that the laser will do the right thing.
We can add a shape (circle or box) around the image which will be cut out - this is done with another layer in LaserCut 5.3. The rubber should cut through at 65% power and 20mm/s.
Then export to the laser and perform the cut.
Finishing your stamp
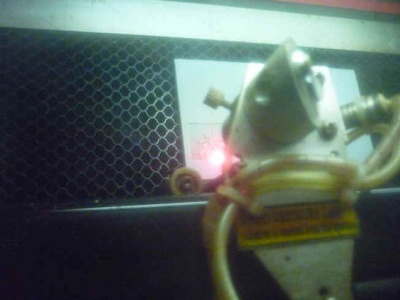
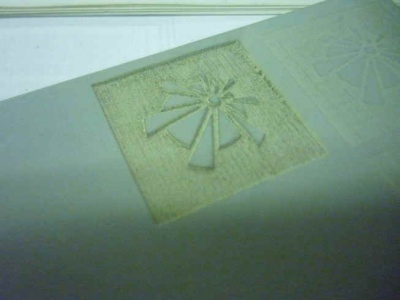
Cut the stamp out either with the laser cutter (put a shape around the stamp and use this as a cut layer) or just with a sharp knife. Any point edges might affect the stamp, so go pretty close to the raised surface. You can see in the next photo that I get a load of ink around the edges. I should either cut it off or stick it down onto a more rigid surface.
Glue the stamp onto some wood backing (with handle added). Prime with ink and stamp everything in sight.
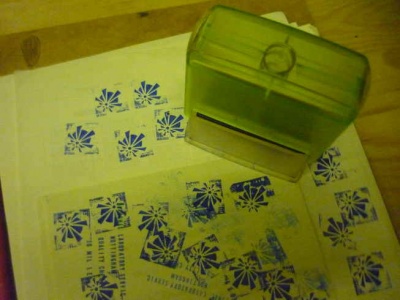
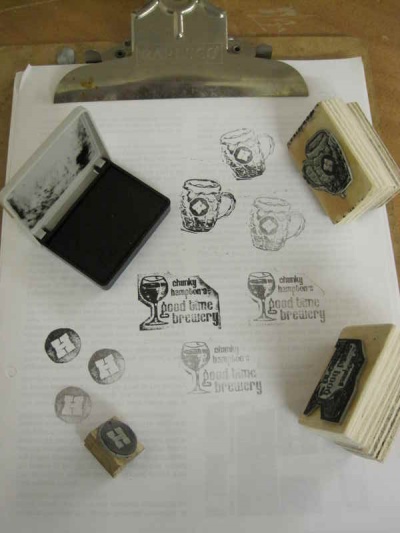
Some of the rubber stamps I have made recently:
